
So this will be a two part blog post. Currently I only have enough photos and information but will share more in part 2 when I can. I wanted to go ahead and share this amazing story with you. As part of our first 6-9 months in Tsumkwe AIM has us focus on building relationship and trust in the community by learning the language and spending alot of time with our neighbors learning culture. For me I have had the privilege to spend alot of time learning from Uncle. Uncle is our landlord, friend, and my Ju/’honsi name came from him. About 2 months ago I was told by him that we together would make a traditional Bushman hunting bow for me and he would show me how to do it and then teach me how to use it. The following is the story of that process.
One day Uncle and I went to the bush I thought to get firewood but on this trip it was to find a proper stick for the bow.
(To view the pictures you must click on the link above “see all comments” at the bottom of this email if you are unable to view them in your email or on your above.)
That is where the story begins.
You need the proper tools:
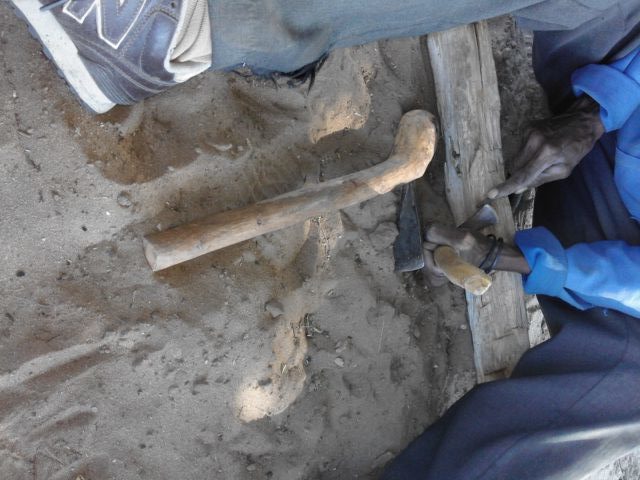
We went to the bush and choose a certain species of wood. I wasn’t expecting to get the raw material that day we went to the bush so I don’t have a picture but it had to have a bow in it already. I know uncle had been scouting and looking for the right piece of wood for weeks before when we would go and search for firewood.


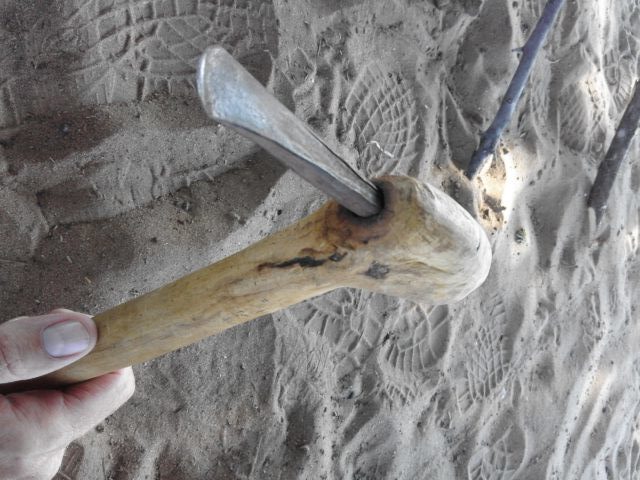
After the bow was carved we added some Vaseline to it to keep it from cracking. We will let it cure for about a month or so. In the meantime it was time to start making the quiver. The quiver will hold the bow, the sticks for fire making, and the arrows.
To located the quiver material was an entire day process. After sunrise we went into the bush and located the proper tree then started to dig and cut.

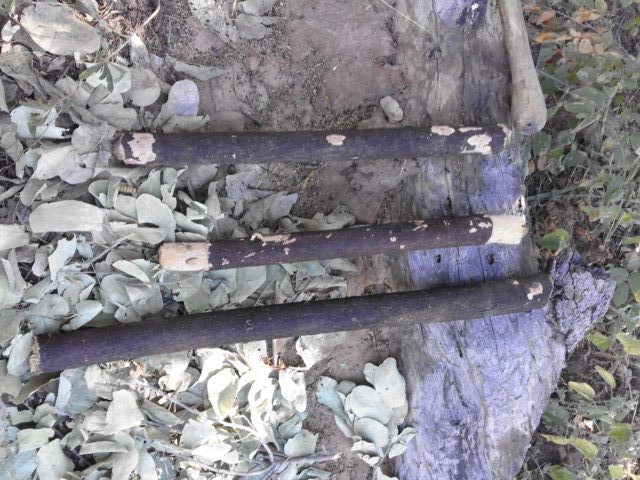


After retrieving the roots we easily pulled the middle wood out of the tree root. The wood had so much water in it that we cooked the water out causing it to shrink. We were then left with a hollow hardened tube, the bark.
I will pause the making of the quiver at this point because we have to find some kudu skin to make the shoulder strap and top and bottom pieces of the tube. In the meantime we were able to locate some animal ligament for the string.

Uncle then proceeded to weave 4 strands of this together to make the bow string. I was so intent on watching I didn’t get any pictures.
So at this point lets pause this story. When I return to Tsumkwe next week we will begin to process the kudu skin he located, string the bow, finish the quiver then we will make the arrows. I anticipate we will finish the bow in the next few months. Stay tuned for part 2 for the finished results.

You have left me hanging!! How fascinating.
LikeLike